
Quantitative Reasoning and the Environment return to the chapter projects
Project File Descriptions
TI-83/84 calculator's group (.8xg) files
Downloading project files from our Web page to your computer
Linking the TI-83/84 to a computer
Sending calculator group (.8xg) files from your computer to a TI-83/84 calculator
Sending a data list from one calculator to another
Project File Descriptions top
The main body of each chapter project is available as an Adobe Acrobat pdf file. Some chapter projects have additional pdf files that feature maps, charts, and so on. To obtain the free Acrobat Reader that allows you to read pdf files, click here.
The projects for Chapters 4, 5, and 13 require that students work with pre-defined data sets. For StatCrunch users, clicking on the appropriate link will load the data sets directly into StatCrunch. First-time users of StatCrunch will need to register. For TI-83/84 calculator users, the project data sets are posted as group (.8xg) files. Below we give instructions on how to download .8xg files to your computer, and then transfer them to your TI-83/84 calculator.
TI-83/84 calculator's group (.8xg) files top
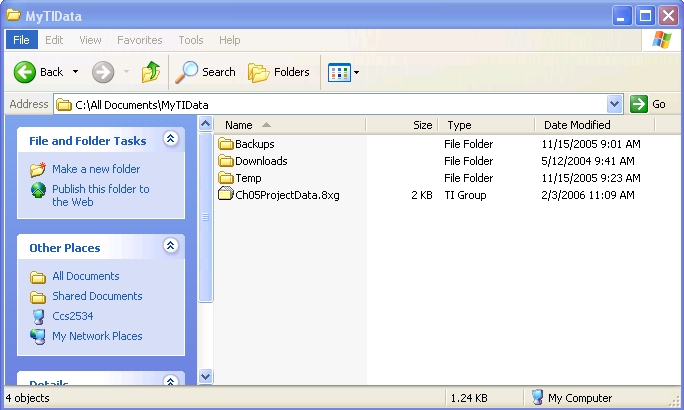
The TI-83/84 calculator's .8xg files are called "group" files. They are referred to as "group" files because they are a collection of one or more list files. Lists are where data are stored on the TI-83/84 calculator (and viewed in the data editor under STAT > 1:Edit). For example, all three columns of data for the Chapter 5 project are found in the TI group file called Ch05ProjectData.8xg. This file contains three lists of data: L1 for years, L2 for production, and L3 for population.
Most of the data lists for our chapter projects are named L1, L2, L3, and so on. The one exception is with the Chapter 4 project data, but the background information presented on this web page still applies.
Downloading project files from our Web page to your computer top
Windows users: Right click on either the Acrobat (.pdf) file or the TI group (.8xg) file and select "Save Target As" or "Save to Computer." Save the file in a location that is convenient to access later. Once on your computer, the TI group file will appear as a folder containing the data list(s). Note: download options may vary depending on your version of Windows.
Linking the TI-83/84 to a computer top
To exchange TI files between your computer and calculator, you will need the following two items:
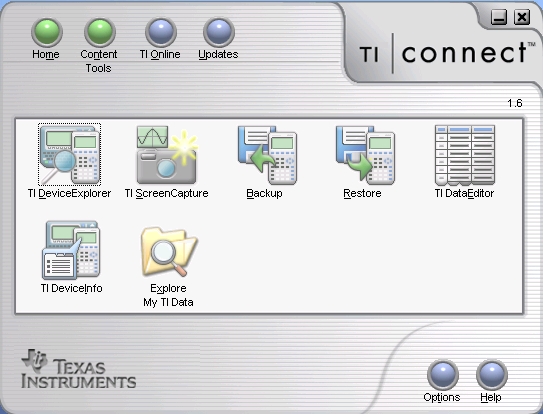
- TI Connect software that is available for free at the Texas Instruments web site (click here). Note: there is also an older software program called GraphLink; that program will work fine but we do not give directions for its use here.
- A Connectivity Cable that links your computer to your calculator. Cables can be purchased at the Texas Instruments web site (click here). Note: you will need to choose the proper cable depending on the calculator (TI-83 or TI-84) and computer port (USB or serial).
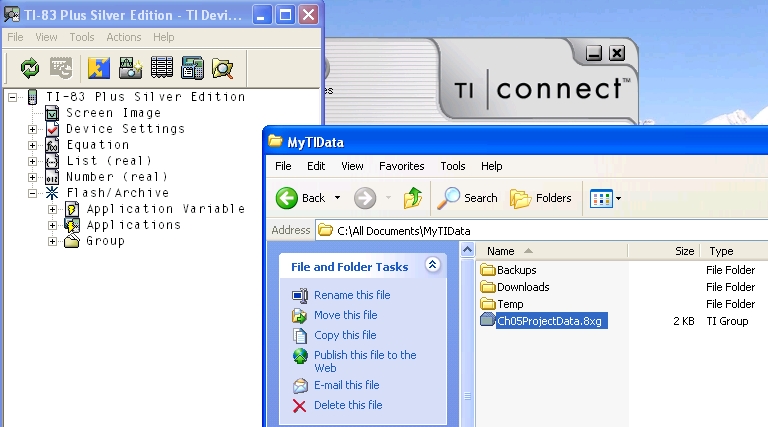
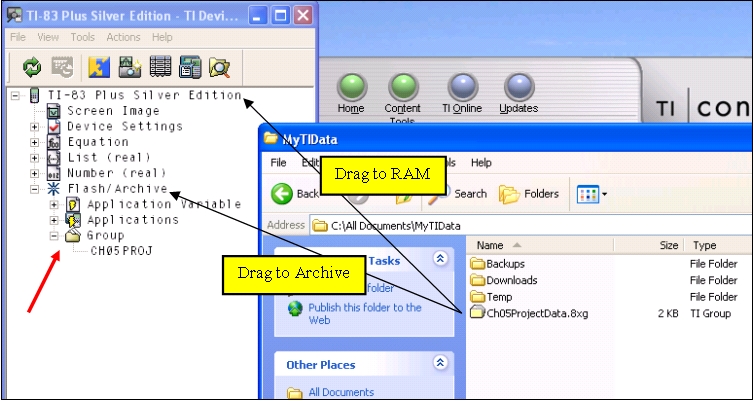
Sending calculator group (.8xg) files from your computer to a TI-83/84 calculator top
Once the TI Connect software is installed, connect the calculator to your computer with the cable. Be sure that the cable end attached to the calculator is pressed in firmly. Then proceed as follows:
Windows users:


Sending a data list from one calculator to another top
To send a data list from one TI calculator to another, you will need a patch cord to connect the two units. Cords are available at the TI web site. Be sure that the cord is pressed firmly into place in both units. (Sometimes you will feel a slight "click" when it is engaged.) Then proceed as follows:
- Turn on the receiving unit. Select LINK > RECEIVE > 1:Receive. The calculator will say "Waiting ..."
- Turn on the sending unit. Select LINK > SEND > 4:List. Under the SELECT column, you will see the lists that are available on the sending unit. Move the cursor up and down using the arrow keys. When you come to a list that you want to send, press ENTER. Move the cursor up or down and you will see that a small bullet has been placed next to the list. Continue until you have selected (bulleted) each list that you want to send.
- Press the right arrow to select the TRANSMIT column. Then select 1:Transmit.
- The receiving calculator may prompt you to 1) Rename 2) Overwrite 3) Omit or 4) Quit. Choose according to your needs.